Step 2: Modify Configuration
Crowd employs a configuration file approach to define the simulation settings. This can be done by either modifying the YAML file directly, or using the buttons and selectors in the GUI.
Library/App’s Settings Page
We will first go over how to construct the YAML file. After the creation of a project, conf.yaml file is added automatically on the Project folder. In the Settings page of the app, we can make changes on this file and save its contents.
Alternatively, conf.yaml file itself can directly be modified, or contents of another file can be copied while using the library. For this example, we have sir.yaml file located in the same directory with the Python file we write our code in, which we will copy its contents, using the following code:
import os

conf_path = os.path.join(os.path.dirname(__file__), 'sir.yaml')
my_project.update_conf_with_path(conf_path)
Now, we inspect the contents of the configuration file:
name: SIR-example
structure:
    random:
        type: random-regular
        count: 100
        degree: 4
definitions:
    pd-model:
        name: diffusion
        nodetypes:
            Susceptible:
                random-with-weight:
                    initial-weight: 0.9
            Infected:
                random-with-weight:
                    initial-weight: 0.1
            Recovered:
                random-with-weight:
                    initial-weight: 0
        node-parameters:
            numerical:
                age:
                - 0
                - 100
        compartments:
            c1:
                type: node-stochastic
                ratio: 0.1
                triggering_status: Infected
            c2:
                type: count-down
                iteration-count: 4
                name: healing
        rules:
            r1:
                - Susceptible
                - Infected
                - c1
            r2:
                - Infected
                - Recovered
                - c2
Explanation of each property:
name: This name can later be used in GUI to search for this simulation, so it is useful to pick a meaningful name.
structure: Describes how the network will be initialized. Crowd supports reading networks from csv and edgelist files, while providing various network generators from NetworkX and igraph-python libraries. In this example, we choose to generate a random regular network (type), with 100 nodes (count) and each node having a constant degree of 4 (degree).
definitions: Holds properties for the network initialization and (optionally) the simulation logic (compartments and rules).
pd-model: Means we want to use a predefined model in our simulation. We do not include this keyword for custom simulations.
name: diffusion: Specifying that we want to use DiffusionNetwork model of Crowd.
nodetypes: Defining each node type for our model and their initialization methods. For this example, we choose (0.9 * node_count) nodes as Susceptible initially.
node-parameters: Can be numerical or categorical. We define each parameter by giving a name. For numerical parameters, Crowd assigns each node a value between [lower-bound, upper-bound] provided. For categorical parameters, a list of possible categories should be given. Alternatively, users can specify a file path to read the values from.
compartments: Rule-bits that we use to specify the conditions of a node state change. This feature is based on Network Diffusion Library (NDLib) and is integrated into only DiffusionNetwork model. More information about each compartment type can be found on the given link.
rules: Consists of: (a) current state of the node, (b) state to move, (c) compartment to use.
Explanation of this simulation’s rules:
r1: If a node is susceptible, execute c1. If this node has any Infected neighbors (triggering status), with a probability of 0.1 (ratio), the node switches from Susceptible to Infected state.
r2: describes the Infected to Recovered sequence, which is described with a countdown compartment. This means that after 4 iterations, the node will switch states.
App’s Project Page
To configure simulations, Crowd provides simple selectors in its Project page. In this section, we will present the settings chosen for this example:
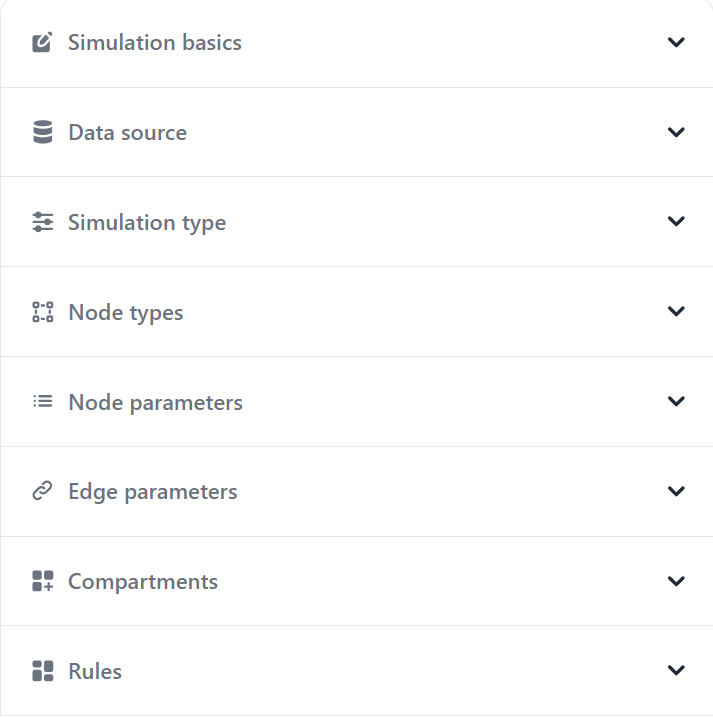
Simulation settings in the Project page
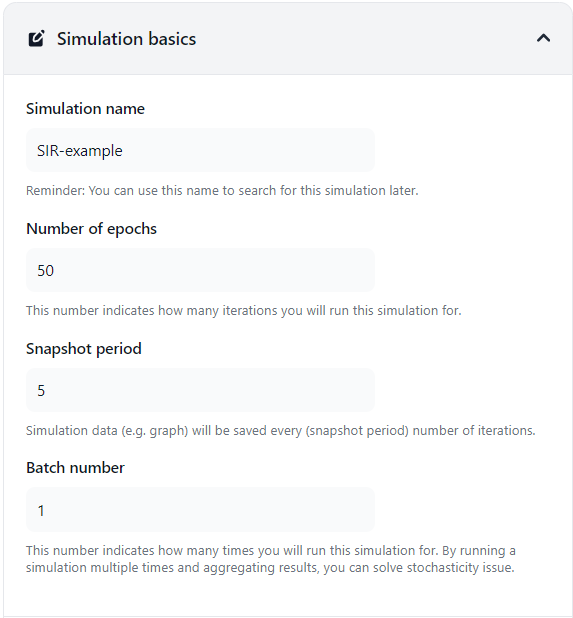
Simulation basics in the Project page
Note: Starting from this section, after completing selection for a subsection, “Save” button must be clicked. After this operation, when we leave this subsection and come back, the previous selections will not be visible. However, they are not lost. Any additions will be added on top.
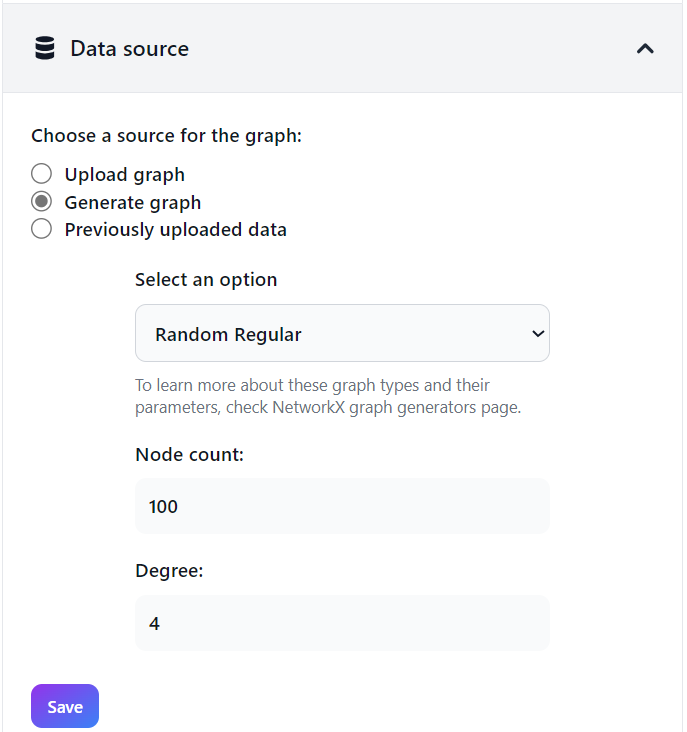
Data source selection in the Project page
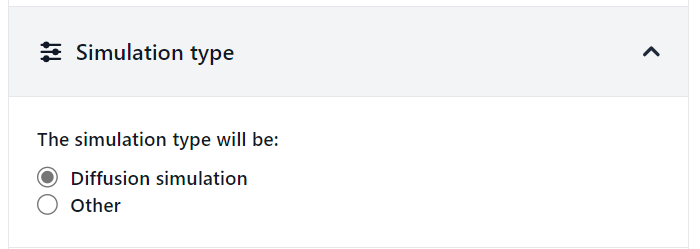
Selecting simulation type in the Project page
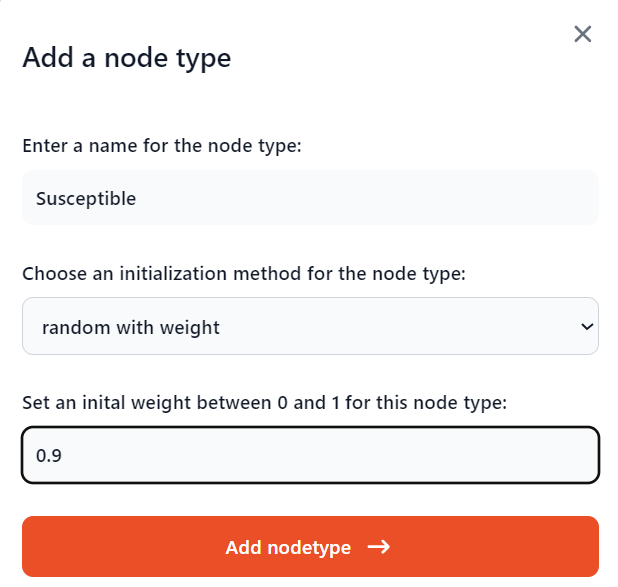
Adding node types in the Project page
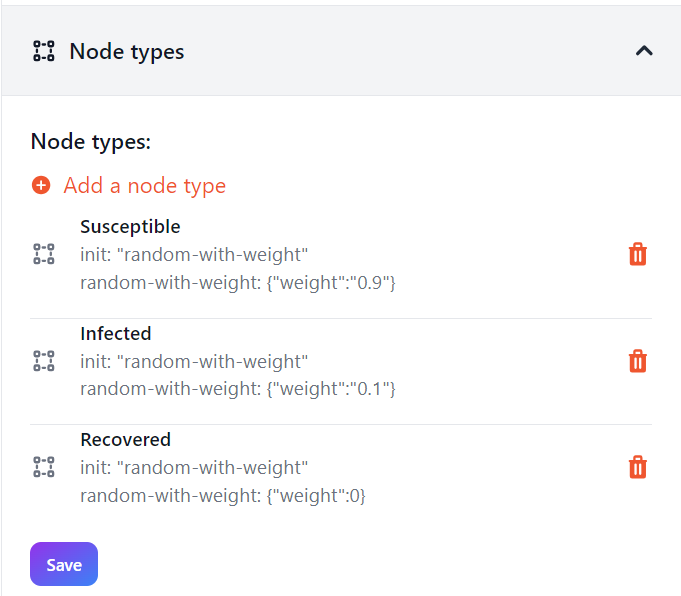
List of added node types in the Project page
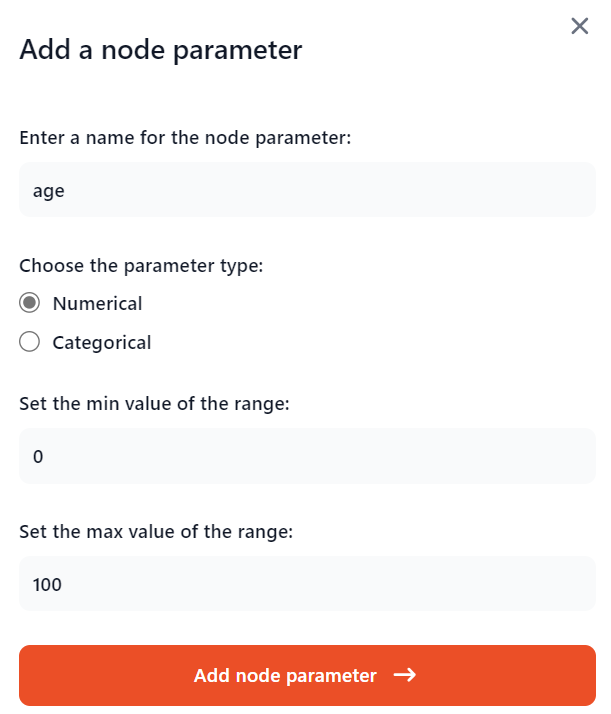
Adding node parameters in the Project page

Compartment selection options in the Project page
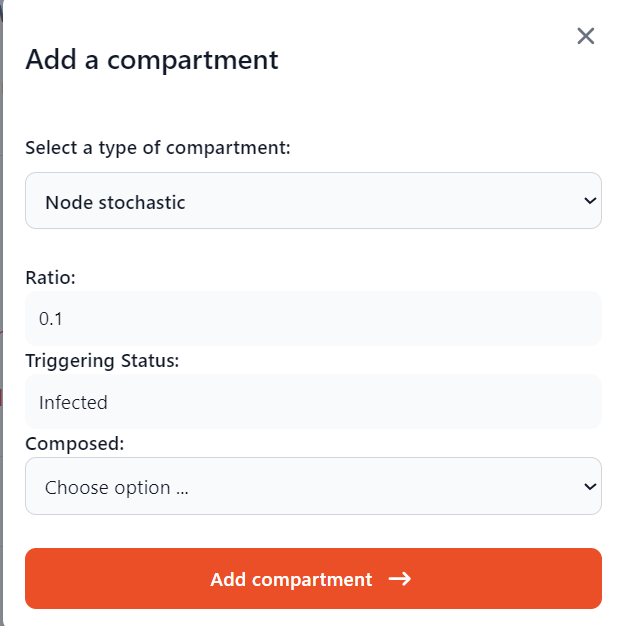
Adding compartments in the Project page

Added compartment list in the Project page
The saved nodetypes and compartments will be displayed as options. If no options are visible, go back to that subsection, re-enter the settings and save.
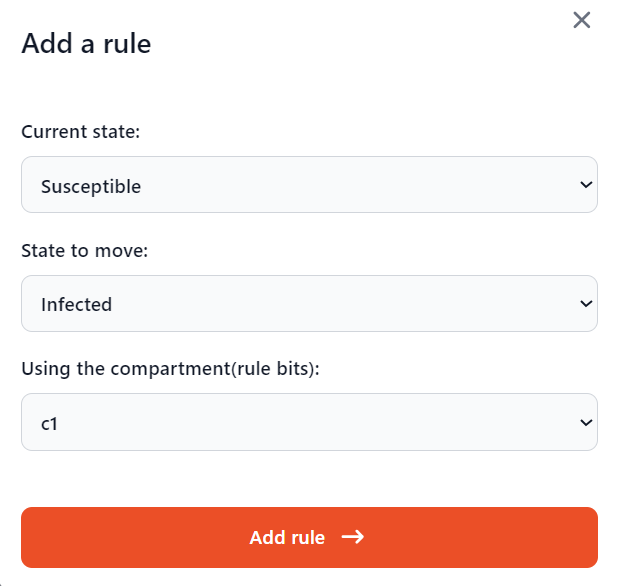
Adding rules in the Project page
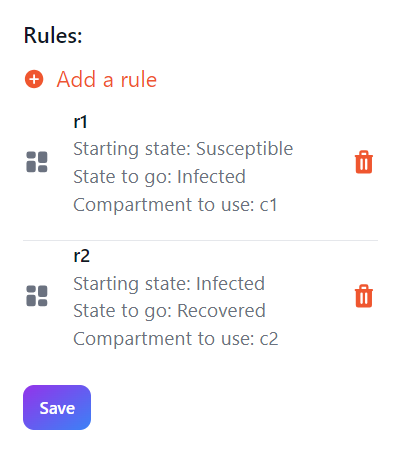
Added rules list in the Project page
After the selection of these settings, clicking “Run simulation” will convert these selections and write them to the YAML configuration file. The configuration file will be loaded into Python library, simulation will be executed and we will then be directed to the Network page to explore the results.
In the next two pages, we list all the network generators integrated into Crowd for available use in the configuration file and the network models provided by Crowd. While they are not needed to understand this example, they serve as a reference for model development.
Next: (Optional) Network generators